Experiments with time and motion
I spent most of last week at Eurosonic Noorderslag in Groningen, The Netherlands. As well as shooting some great bands I also had time to explore the city. As I was lugging my tripod and a full bag of kit around, I decided to try out some long exposure and composite shots.
I love using photography to capture the feel of movement – I’ve done a number of long exposure / light trail shots before, and even bought myself a Pixelstick for Christmas which I haven’t yet had a chance to use. This time though I wanted to try combining long exposures with stacking to create something new.

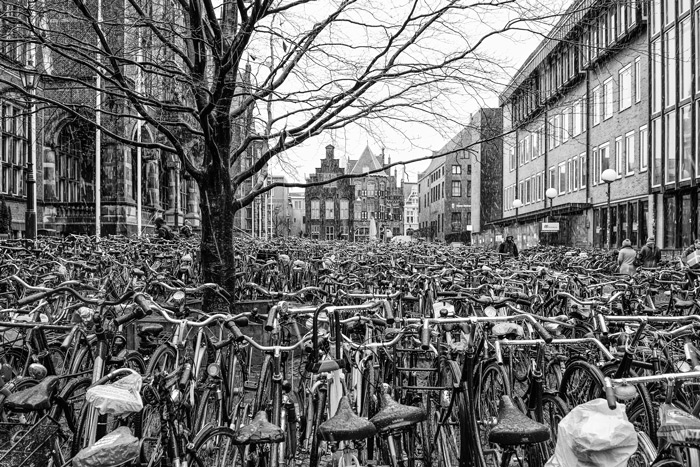
If there’s one thing that always stands out to me in Holland, it’s the sheer number of bikes and despite the often sub-zero temperatures in Groningen, they were still out in force, especially between 5pm and 6pm when everyone was heading home.
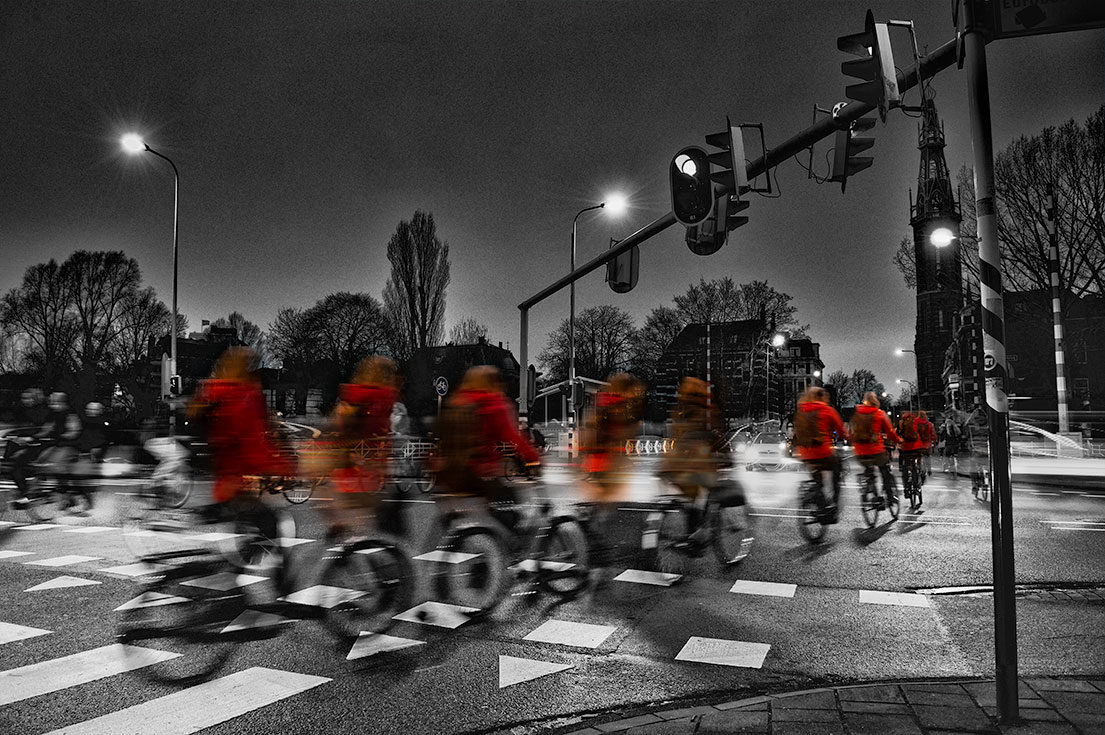
There was a particularly busy junction near the main conference venue, so one evening I nipped out (having donned a thick jacket and gloves) and set up on the corner of the junction.
As I wanted to take multiple long exposures and stack them I used my trusty Manfrotto Carbon One tripod with a ball-head, a Nikon D800 with a 24-70mm f/2.8 set at 24mm and a remote release cable.
For the effect I had in mind I wanted motion blur but for the form of the cyclists to still be visible, so after a bit of experimentation I found that a speed of 1/15 sec did the trick.
It was dusk and I didn’t want to push the ISO too much as I find noise becomes more prominent with stacking, so I settled on ISO 640 and f/5.6 with a focus point in the middle of the junction, yielding a nice depth of field.
I shot a number of sequences and eventually got lucky as one cyclist in particular came past with a bright red jacket on – this gave me the line I was looking for.
When creating light trail shots it’s usually a simple case of stacking layers and using the ‘lighten’ blend mode in Photoshop to merge the trails, but for this shot that wouldn’t work as the cyclists differed in illumination against the background. Instead I had to manually mask each layer, painting in the visible sections with a soft brush.
To produce the final edit I had to wait until I was back in my studio on my iMac Retina with 32Gb RAM, as I was stacking and masking 9 separate frames – my Macbook Air tried admirably but struggled to deal with it.
When I had the composition I wanted I merged the layers and then adjusted the colour using Nik Color Efex Pro 4. I then duplicated the layer and converted to monochrome using Nik Silver Efex Pro 2 to really bring out the texture of the road.
Initially I published the monochrome version on Instagram but later had a flash of inspiration and applied a selective mask to highlight the red jacketed rider, I think this draws the eye into the shot more and makes for a more powerful result.
What do you think?
I’m going to continue experimenting with time and motion in my shots – let me know if you’ve any tips or techniques for this, or any questions about my approach, I’d love to hear from you.


No Comments